
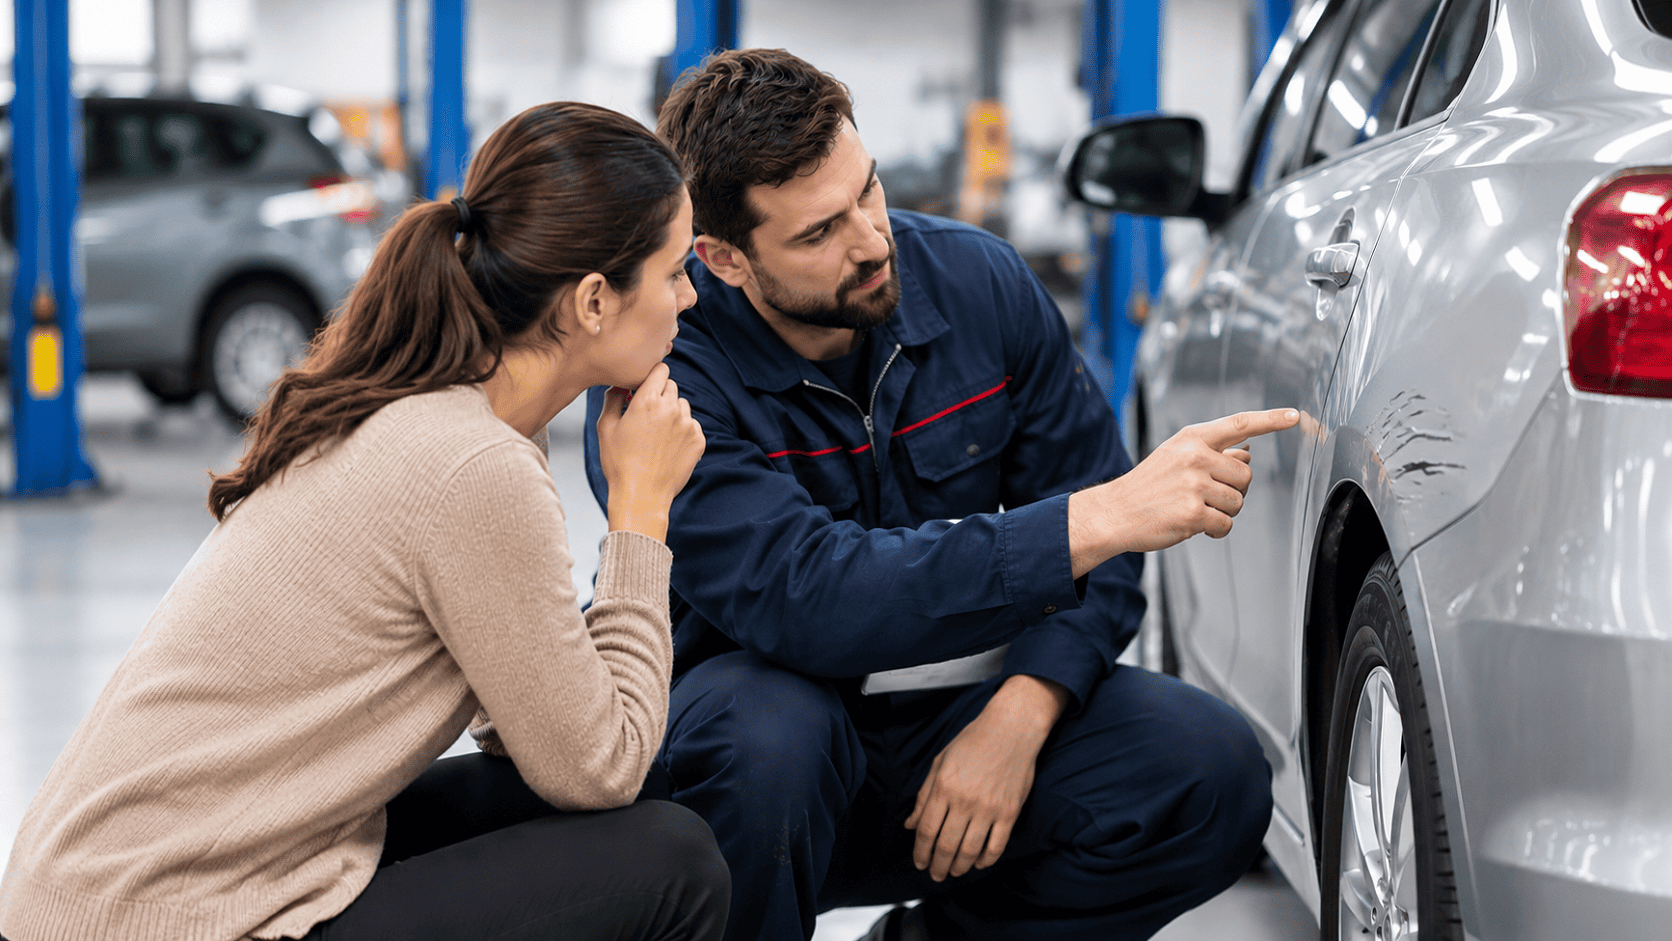
Getting your vehicle back after an accident repair can be a relief. After waiting for parts, assessments and repair work to be completed, you are probably looking forward to getting back on the road.
However, before driving away, it is important to take some time to inspect your vehicle and check that the agreed repairs have been completed.
Even when a vehicle looks good from a distance, there may be details worth checking, such as panel alignment, paint finish, lights, sensors and the operation of repaired components.
A proper inspection can help you identify concerns early and give the repairer an opportunity to address them.
In this guide, we cover a practical car accident repair checklist to help you understand what to check before accepting your vehicle back from a smash repairer.
Why Should You Inspect Your Car Before Accepting It Back?
After an accident, your vehicle may go through several repair stages, including panel beating, replacement of damaged components, spray painting, mechanical work and safety system checks.
Once the work is completed, you should have an opportunity to inspect the vehicle and ask questions about the repairs.
Checking your vehicle before leaving the repair facility can help you:
- Identify visible damage or incomplete repairs.
- Check that repaired panels and replacement parts look properly fitted.
- Confirm that lights, windows, doors and other components operate correctly.
- Raise concerns about paintwork or the vehicle’s finish.
- Understand what repair work has been completed.
- Obtain relevant documentation and warranty information.
It is also a good opportunity to clarify any outstanding work or concerns before taking the vehicle home.
Car Accident Repair Checklist: What to Check Before Driving Away
Use the following checklist when collecting your vehicle after accident repairs.
1. Inspect the Repaired Panels and Bodywork
Start by walking around your vehicle and inspecting the areas that were damaged in the accident.
Look closely at the repaired panels and any replacement components. Check whether the bodywork appears even and properly finished.
Pay attention to:
- Dents, scratches or visible imperfections.
- Uneven panel gaps around doors, bonnets, bumpers and guards.
- Panels that appear misaligned or sit unevenly.
- Loose or incorrectly fitted trim pieces.
- Visible gaps between replacement components.
- Any damage that appears unrelated to the original accident.
Compare the repaired areas with the surrounding panels where possible.
If you notice anything that does not look right, point it out to the repairer before leaving.
2. Check the Paintwork and Colour Match
If your vehicle requires spray painting, inspect the finish carefully.
A professional paint repair should blend appropriately with the surrounding panels. However, differences in lighting and viewing angles can sometimes make colour variations more noticeable.
Check for:
- Differences in paint colour between repaired and existing panels.
- Uneven paint texture or finish.
- Runs, drips or visible paint imperfections.
- Dust particles or other marks trapped in the paint.
- Overspray on windows, rubber seals, lights or trim.
- Areas that appear dull compared with the surrounding paintwork.
If possible, inspect the vehicle in natural daylight. This can make it easier to identify colour differences and surface imperfections.
Ask the repairer if you have concerns about the paint finish or whether any additional finishing work is required.
3. Check Doors, Bonnet and Boot Operation
Accident damage can affect how doors, the bonnet and the boot align and operate.
Open and close each of these components to check that they work smoothly.
Make sure:
- All doors open and close without unusual resistance.
- Door locks and handles operate correctly.
- The bonnet opens, closes and latches securely.
- The boot or tailgate opens and closes properly.
- Door seals appear correctly positioned.
- There are no unusual gaps or alignment issues
Also check that any repaired or replaced hinges, handles and locking components appear to be fitted correctly.
Do not force a component if it feels stuck or does not close properly. Ask the repairer to inspect it.
4. Test the Lights and Electrical Components
If the accident involved the front or rear of your vehicle, lights and electrical components may have been affected.
Check that the relevant systems are operating correctly.
Depending on your vehicle, inspect:
- Headlights and high beams.
- Front and rear indicators.
- Brake lights.
- Tail lights.
- Reverse lights.
- Hazard lights.
- Fog lights, where fitted.
- Interior lights.
- Electric windows.
- Central locking.
- Dashboard warning indicators.
If your vehicle has parking sensors, a reversing camera or other electronic features, ask the repairer whether these have been checked as part of the repair process.
5. Check the Bumpers, Grilles and Other Replacement Parts
Bumpers, grilles, mirrors, trims and other exterior components are commonly affected in collisions.
Inspect any replaced or repaired parts to make sure they appear correctly fitted.
Look for:
- Secure bumper attachment.
- Even gaps between the bumper and surrounding panels.
- Properly fitted grilles and trims.
- Correctly positioned number plates.
- Secure side mirrors.
- Properly fitted wheel arch liners, where applicable.
- Loose clips or components.
If a bumper or other component contains parking sensors, cameras or radar equipment, ask whether the relevant systems have been checked and calibrated where required.
6. Check the Interior for Signs of Repair Work
Although most accident repairs focus on exterior bodywork, some repairs may involve interior components.
For example, the repair process may require access to door trims, seats, dashboards or other interior areas.
Before accepting the vehicle, check that:
- Interior trims are properly fitted.
- Seats and seatbelts operate correctly.
- Door handles and controls work as expected.
- There are no unexpected scratches or marks.
- No repair materials or debris have been left inside the vehicle.
- Any removed components have been refitted.
If airbags or seatbelt systems were involved in the accident, ask the repairer to explain the work completed and confirm that the relevant safety systems have been checked.
7. Check the Tyres, Wheels and Suspension
If your vehicle sustained damage near a wheel, guard or suspension area, pay particular attention to these components.
Look for visible issues such as:
- Scratches or damage to alloy wheels.
- Cuts, bulges or other visible tyre damage.
- Missing wheel nuts or loose wheel components.
- Uneven positioning of wheels.
- Visible damage around wheel arches.
You should also ask whether wheel alignment or suspension checks were required and completed as part of the repair.
Not every accident repair requires wheel alignment, but it may be necessary where the impact affected the wheels, steering or suspension.
If you notice unusual noises, vibration or handling problems after collection, contact the repairer and arrange an inspection.
8. Check Dashboard Warning Lights and Safety Features
Modern vehicles use electronic systems to monitor various safety and driving functions.
Depending on the type of accident and repairs, some of these systems may need inspection, diagnostic checks or calibration.
Check the dashboard when starting the vehicle and look for warning lights that remain illuminated unexpectedly.
Depending on your vehicle, relevant systems may include:
- Airbag warning system.
- Anti-lock Braking System (ABS).
- Electronic Stability Control (ESC).
- Traction control.
- Parking sensors.
- Reversing camera.
- Lane departure warning.
- Autonomous Emergency Braking (AEB).
- Blind-spot monitoring.
Ask the repairer which safety systems were affected by the accident and whether any required diagnostic checks or calibration have been completed.
Do not assume that a system is working correctly simply because there is no visible damage.
9. Ask About Unusual Noises, Vibrations or Handling Issues
Before leaving the repair facility, ask whether the vehicle is ready for a road test and whether any unusual noises or handling concerns were identified during the final checks.
If a road test is appropriate and arranged with the repairer, pay attention to:
- Unusual rattling or knocking sounds.
- Steering wheel vibration.
- Vehicle pulling to one side.
- Unusual braking behaviour.
- Wind noise around repaired doors or windows.
- Warning messages appearing while driving.
Only conduct a road test when the repairer confirms the vehicle is safe and ready to drive. If you notice a safety concern, do not continue driving. Contact the repairer and arrange an appropriate inspection or transport.
Documents to Collect When Picking Up Your Repaired Vehicle
A vehicle inspection is important, but so is collecting the relevant repair documentation.
Before leaving, ask the repairer for the paperwork relating to the completed work.
Your collection checklist should include:
| Document or Information | Why It Matters |
| Repair invoice or final repair documentation | Provides a record of the work completed |
| Repair details | Helps you understand which components were repaired or replaced |
| Parts information | Identifies relevant replacement components where documented |
| Workmanship warranty details | Explains the applicable warranty terms |
| Insurance claim documentation | Helps keep a record of the repair and claim |
| Outstanding work details | Confirms whether any agreed work remains incomplete |
The exact documents provided may depend on whether the repairs were privately arranged or handled through an insurance claim.
Keep copies of the relevant paperwork for future reference.
What Should You Do If You Notice a Problem After Collecting Your Car?
Sometimes a concern may only become noticeable after you have taken your vehicle home or driven it for a short period.
For example, you might notice a paint imperfection in different lighting, hear an unusual noise or discover that an electrical component is not working as expected.
If this happens, follow these steps:
1. Contact the Repairer Promptly
Get in touch with the smash repairer and explain the issue clearly. Provide details about when you noticed it and which part of the vehicle is affected.
2. Take Photos or Videos
If the concern is visible, take clear photographs or videos. This can help the repairer understand the issue before inspecting the vehicle.
3. Keep Your Repair Documents
Refer to your repair invoice, job documentation and any applicable warranty information when discussing the concern.
4. Arrange an Inspection
Ask the repairer to inspect the issue and explain what needs to be done.
If the concern relates to safety, avoid driving the vehicle until it has been assessed. Arrange suitable transport if necessary.
5. Contact Your Insurer if Required
If the repairs were completed through an insurance claim and the concern relates to the approved repair work, you may also need to notify your insurer.
Check your policy and follow the relevant claims process.
Common Mistakes to Avoid When Collecting Your Repaired Vehicle
It is easy to focus on getting your vehicle back quickly, especially if you have been without it for several days.
However, avoid these common mistakes:
- Inspecting the vehicle too quickly: Take enough time to check the repaired areas and other relevant components.
- Checking only the exterior: Remember to inspect the interior, lights, electrical features and safety systems where relevant.
- Ignoring small concerns: Mention visible imperfections or unusual operation rather than assuming they will resolve themselves.
- Forgetting the paperwork: Collect relevant repair and warranty documentation before leaving.
- Assuming all safety systems are working: Ask whether affected electronic and safety systems have been checked.
- Driving away with unresolved safety concerns: If something does not feel right, ask the repairer to investigate before using the vehicle.
A careful inspection can help avoid confusion and make it easier to address concerns with the repairer.
Final Car Accident Repair Checklist
Before accepting your vehicle, use this quick checklist to review the main areas.
- Repaired panels and bodywork inspected.
- Paint colour and finish checked.
- Doors, bonnet and boot open and close properly.
- Headlights, indicators and brake lights working.
- Bumpers, grilles, mirrors and trims fitted correctly.
- Interior components checked.
- Tyres and wheels inspected where relevant.
- Dashboard warning lights checked.
- Relevant safety systems and sensors discussed with the repairer.
- Unusual noises or handling concerns raised.
- Repair documentation and invoice collected.
- Workmanship warranty information obtained.
- Any outstanding concerns or agreed work documented.
Not every item will apply to every accident repair. Focus on the areas affected by your particular accident and the work carried out on your vehicle.
Get Back on the Road With Confidence
Collecting your vehicle after an accident repair is an important final step in the repair process. Taking the time to inspect the bodywork, paint finish, electrical components and relevant safety systems can help you identify concerns before leaving the repair facility.
If you notice anything unusual, speak with your repairer and ask for clarification or an inspection. You should understand what work has been completed and have the relevant documentation before driving away.
At Vitra Autobodies, we understand the importance of a thorough repair process and clear communication with vehicle owners. If your vehicle has been involved in an accident and requires professional smash repairs, contact our team to discuss your requirements.